In the last couple of weeks I have been showing you how to draft a simple summer tank top. Today I thought it would be a good time to show you how to finish the armholes and neckline.
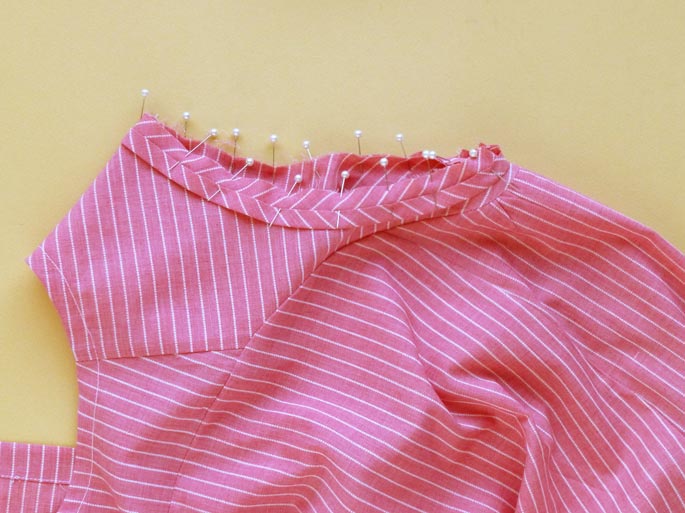
There are generally two methods used to finish the armholes and neckline of a sleeveless top - you could finish them with bias binding (shown in the image above), or draft a facing. I use both variations and make my choice depending on the fabric I am using and the style of the top (or dress) I am making.
Where to start
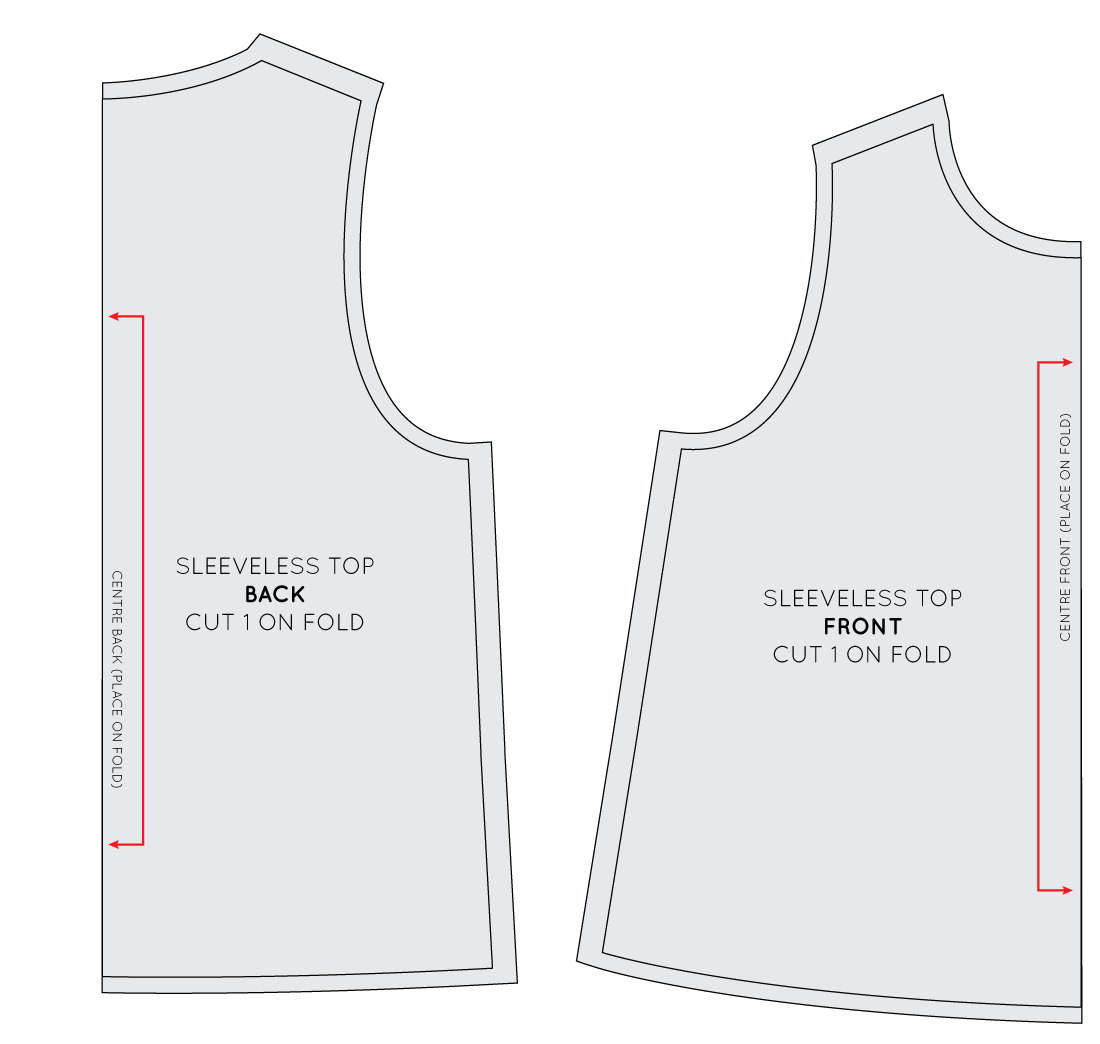
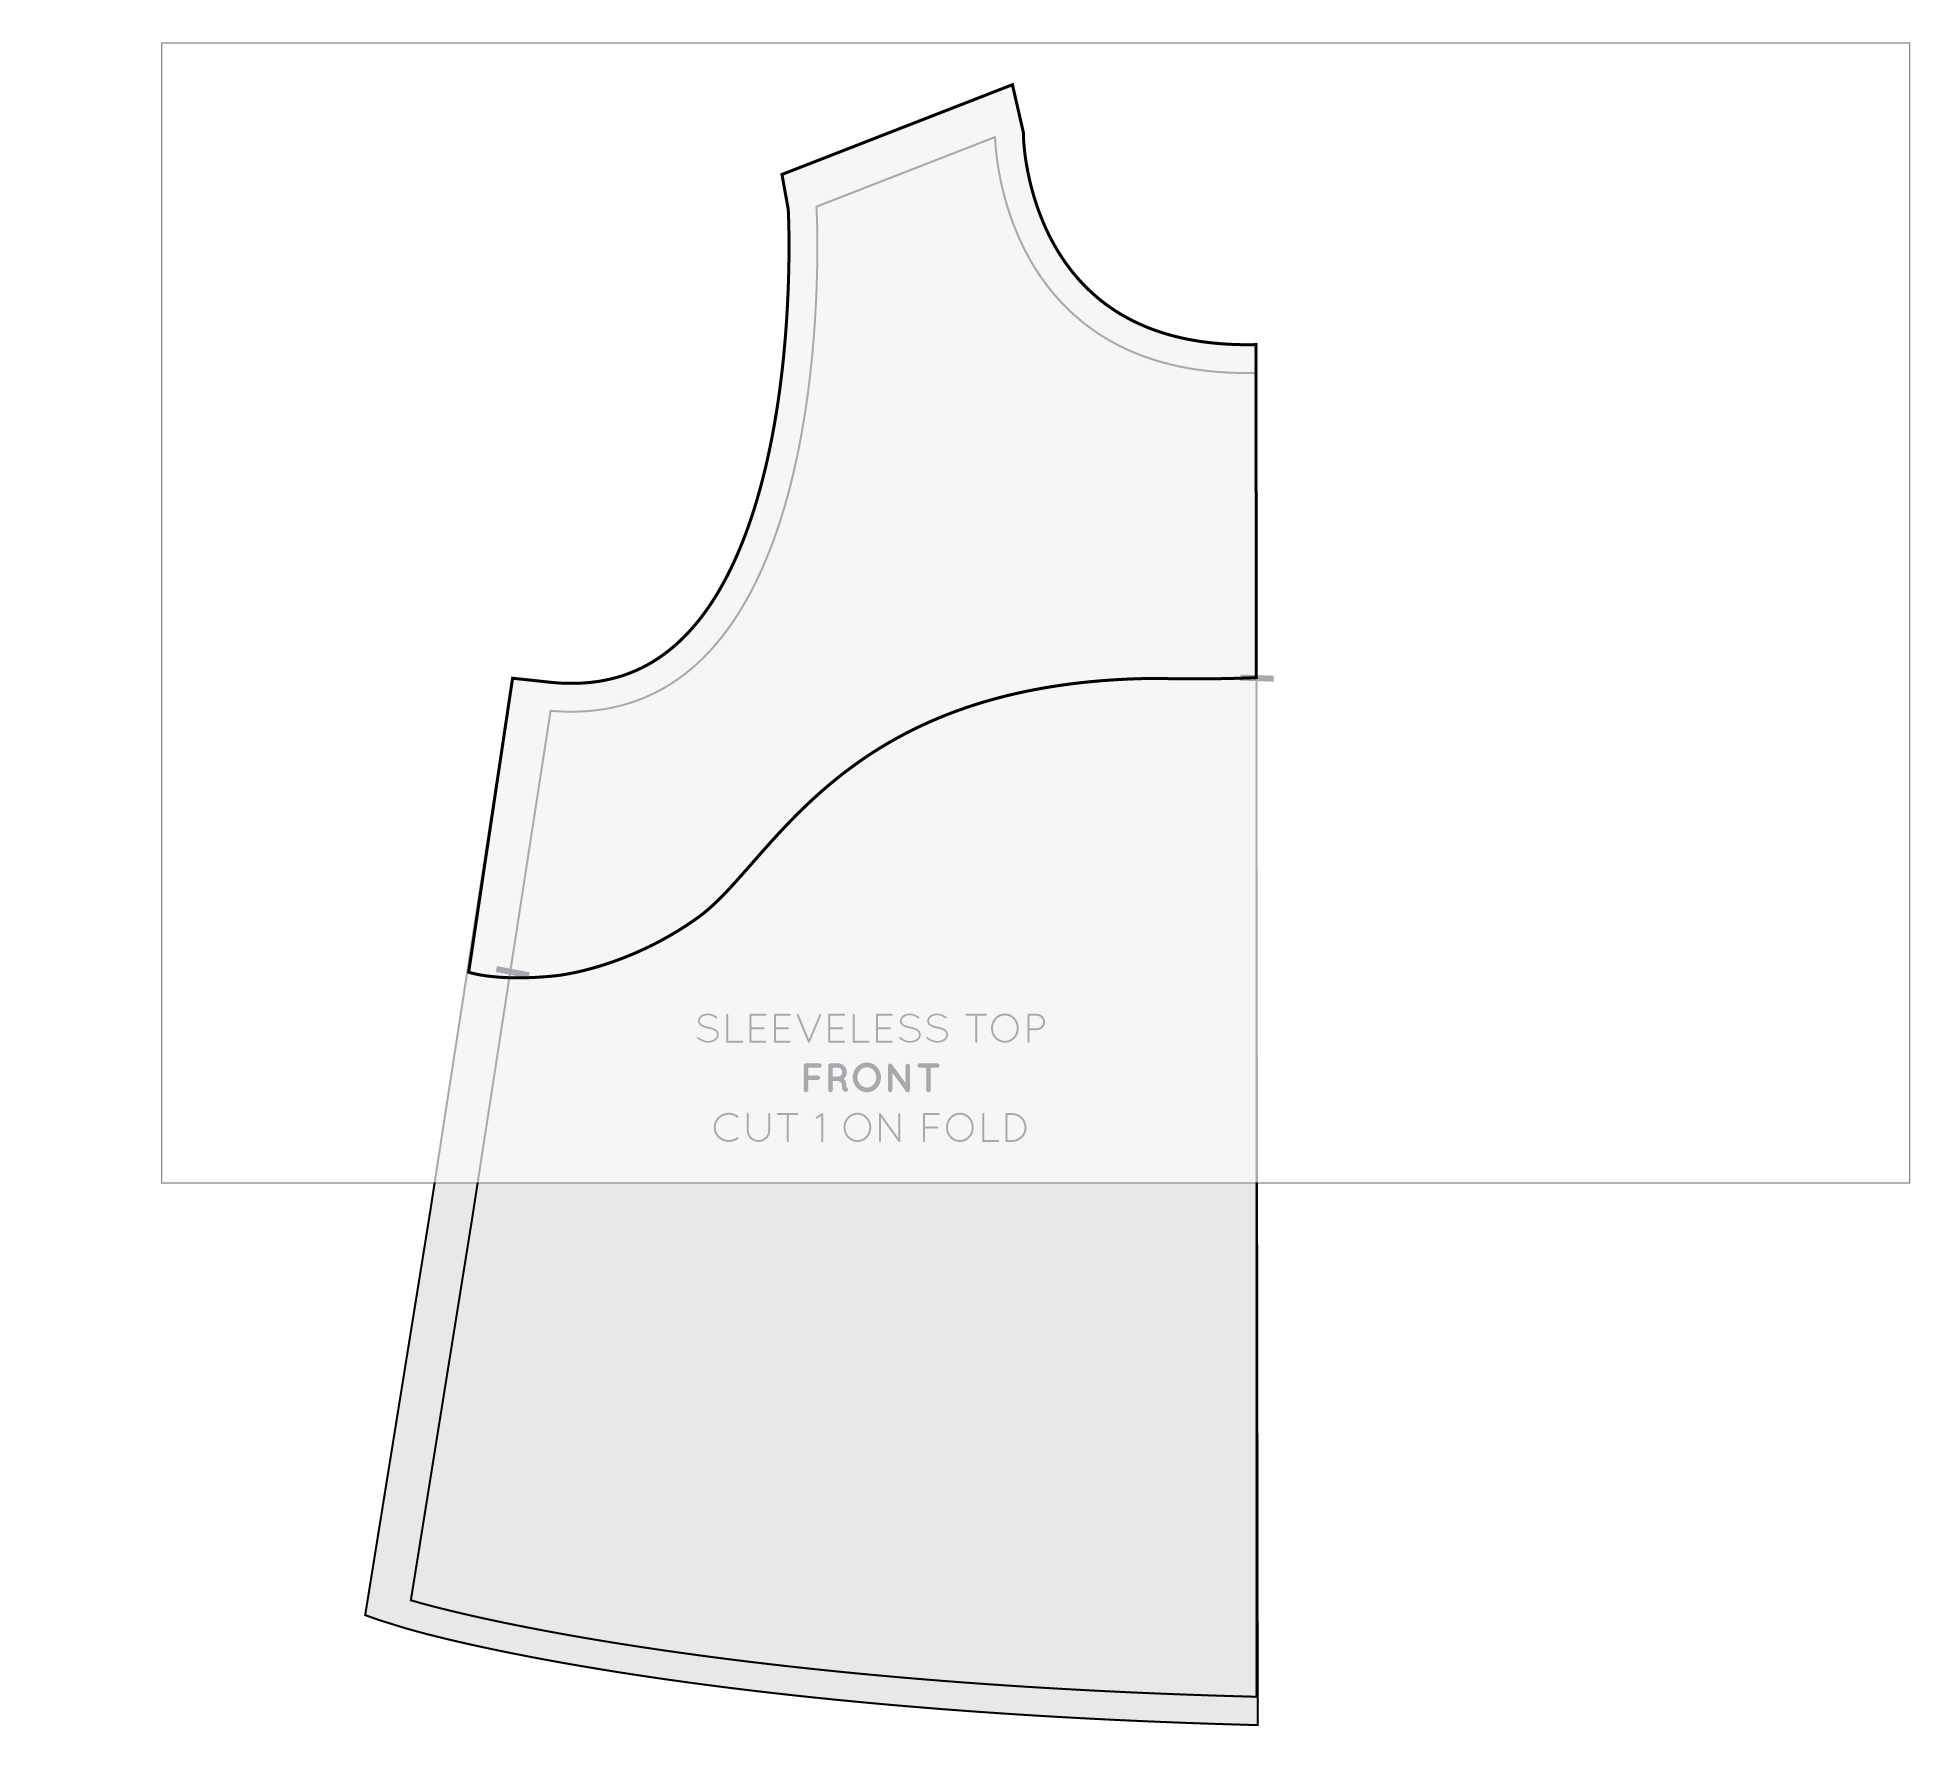
Drafting a facing is really easy, and only takes a couple of minutes. Take the pattern you would like to make a facing for - in this case I am using the sleeveless top pattern that I showed you how to draft in this tutorial.

Consider how deep you would like your facing to be. When it comes to facings, I don't think there's anything worse than a really shallow facing that pops out of the neck or armhole at any opportunity it gets. For this reason, I always draft a nice wide facing.
On your front pattern piece, measure down the side seam the depth of your facing. I would suggest anywhere between 7-10cm (3-4in), but have a look at your ready-to-wear garments with facings, and get an idea of what you like (or don't like). Also mark a point on the centre front (this doesn't have to be exactly the same as the measurement on the side seam, just have a think about how far down you would like the facing to run at the centre front).

Draw the shape of the facing onto the pattern. You will want it to be a smooth curve so that the edge is easy to finish (with bias binding or overlocking).
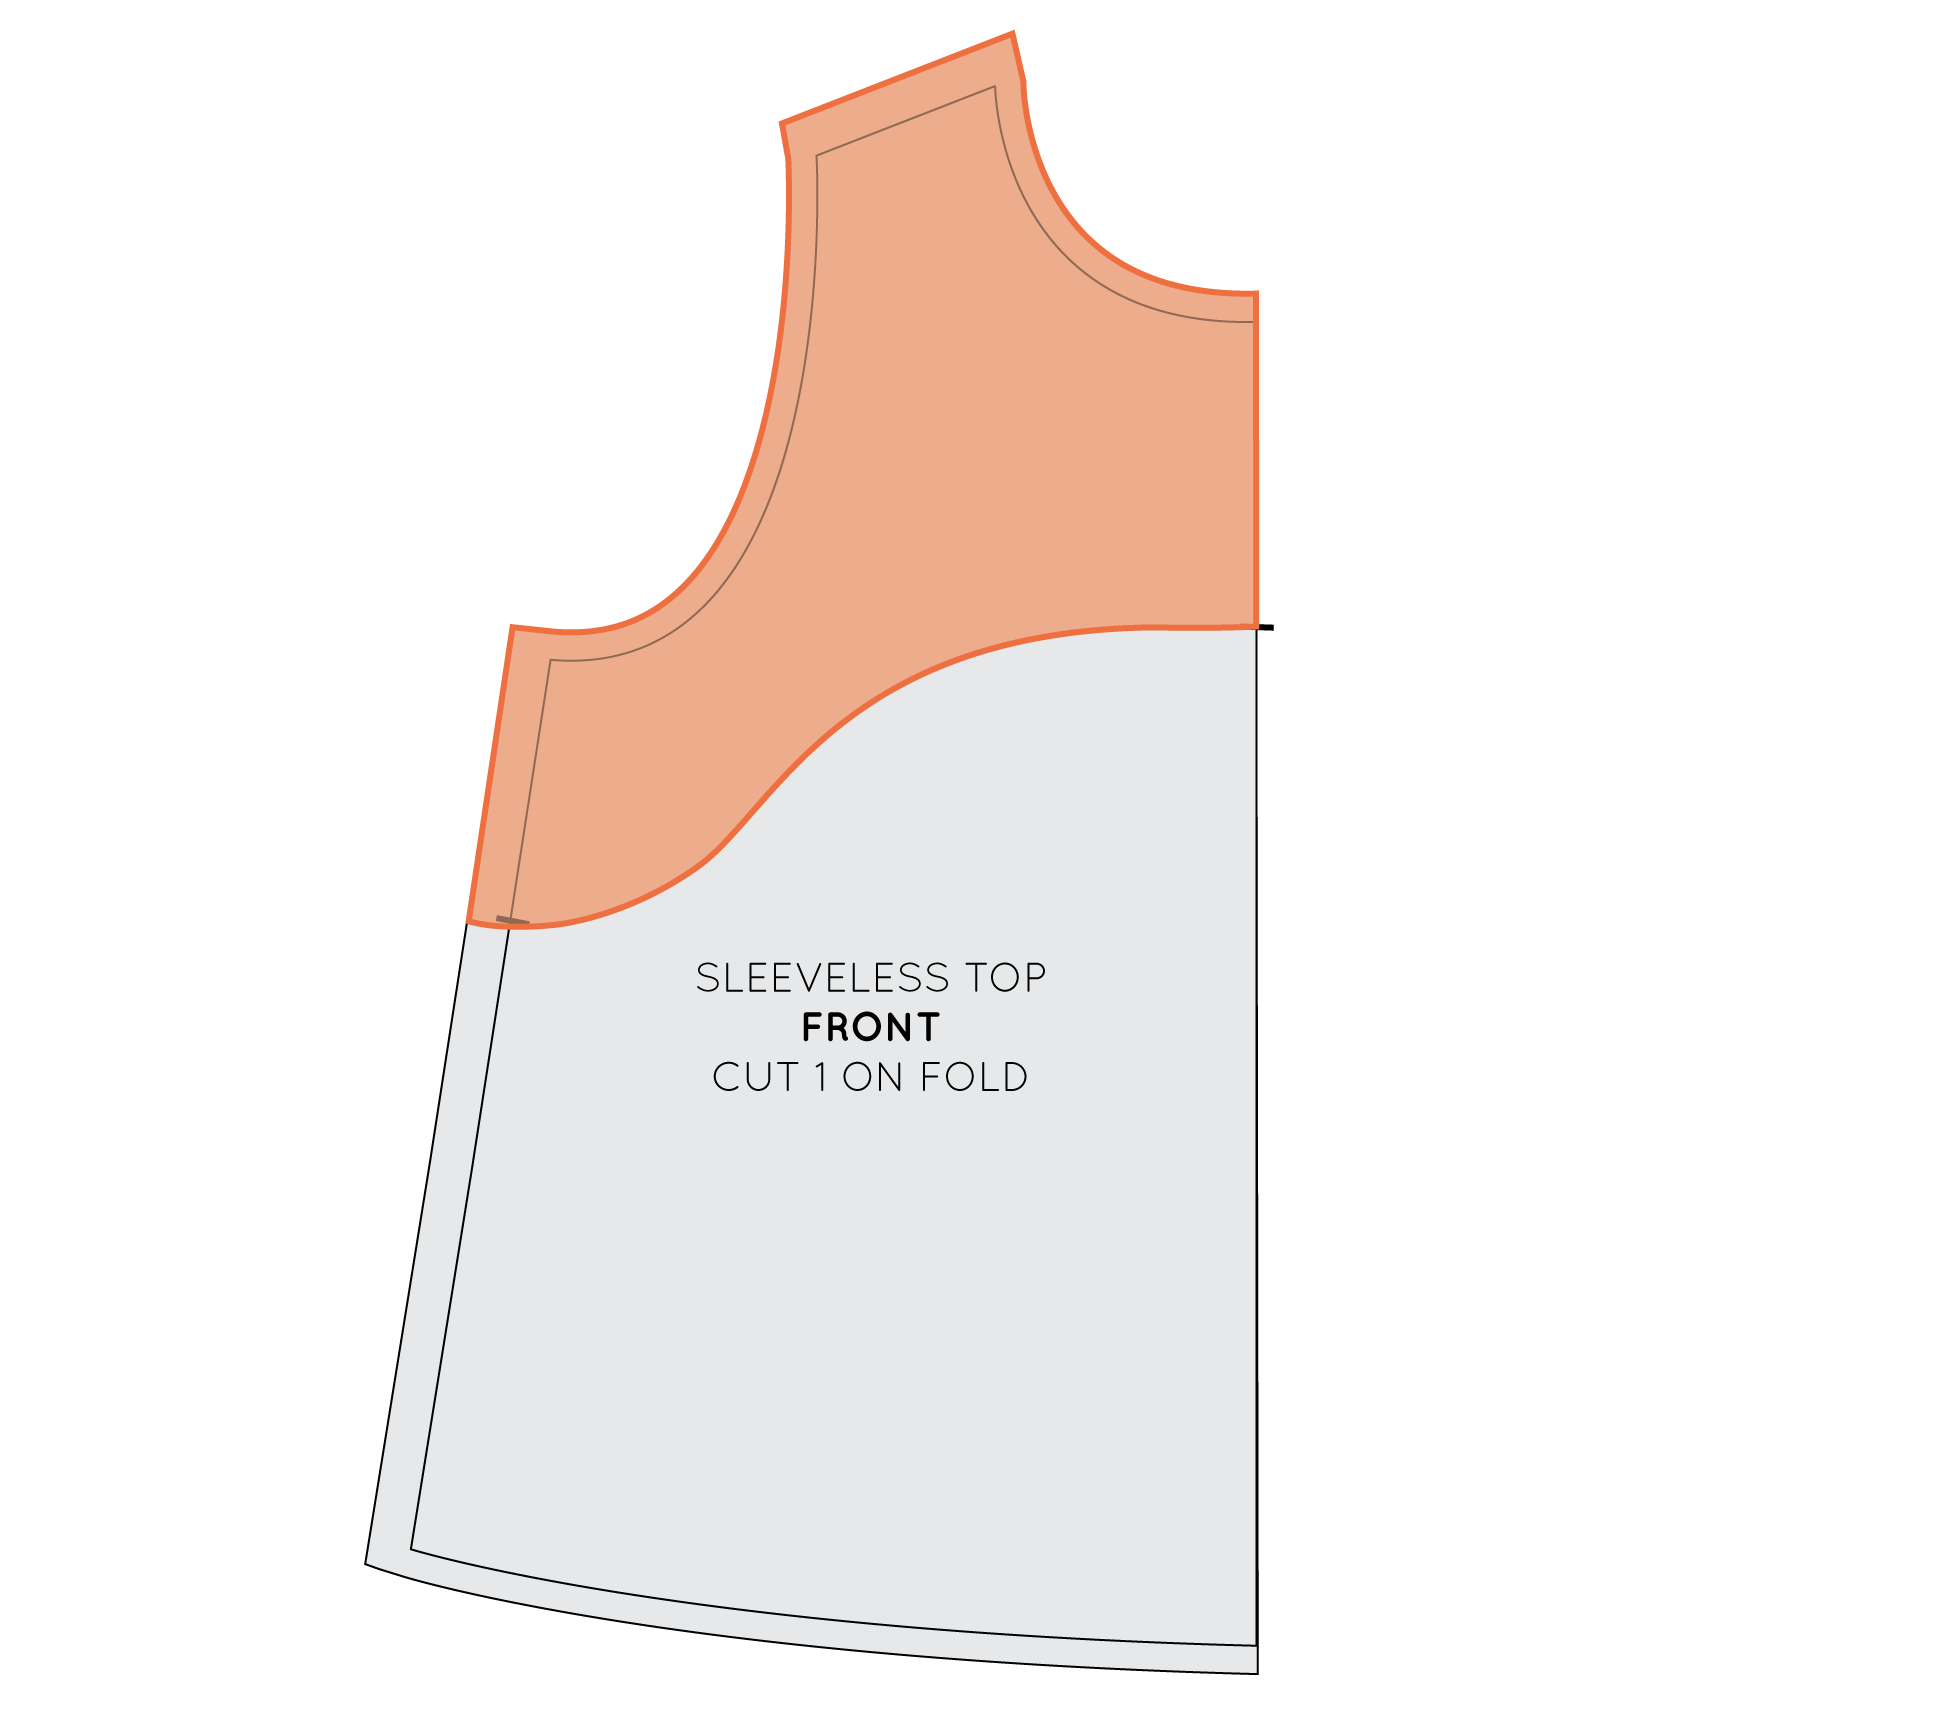
The section above the curved line is the facing piece.
Take a separate piece of pattern paper and trace off the facing piece.

Before removing the facing piece, mark a notch on the armhole (this will come in handy when you are sewing the facing to the body of the top). Using a tracing wheel, transfer the notch onto the top front.
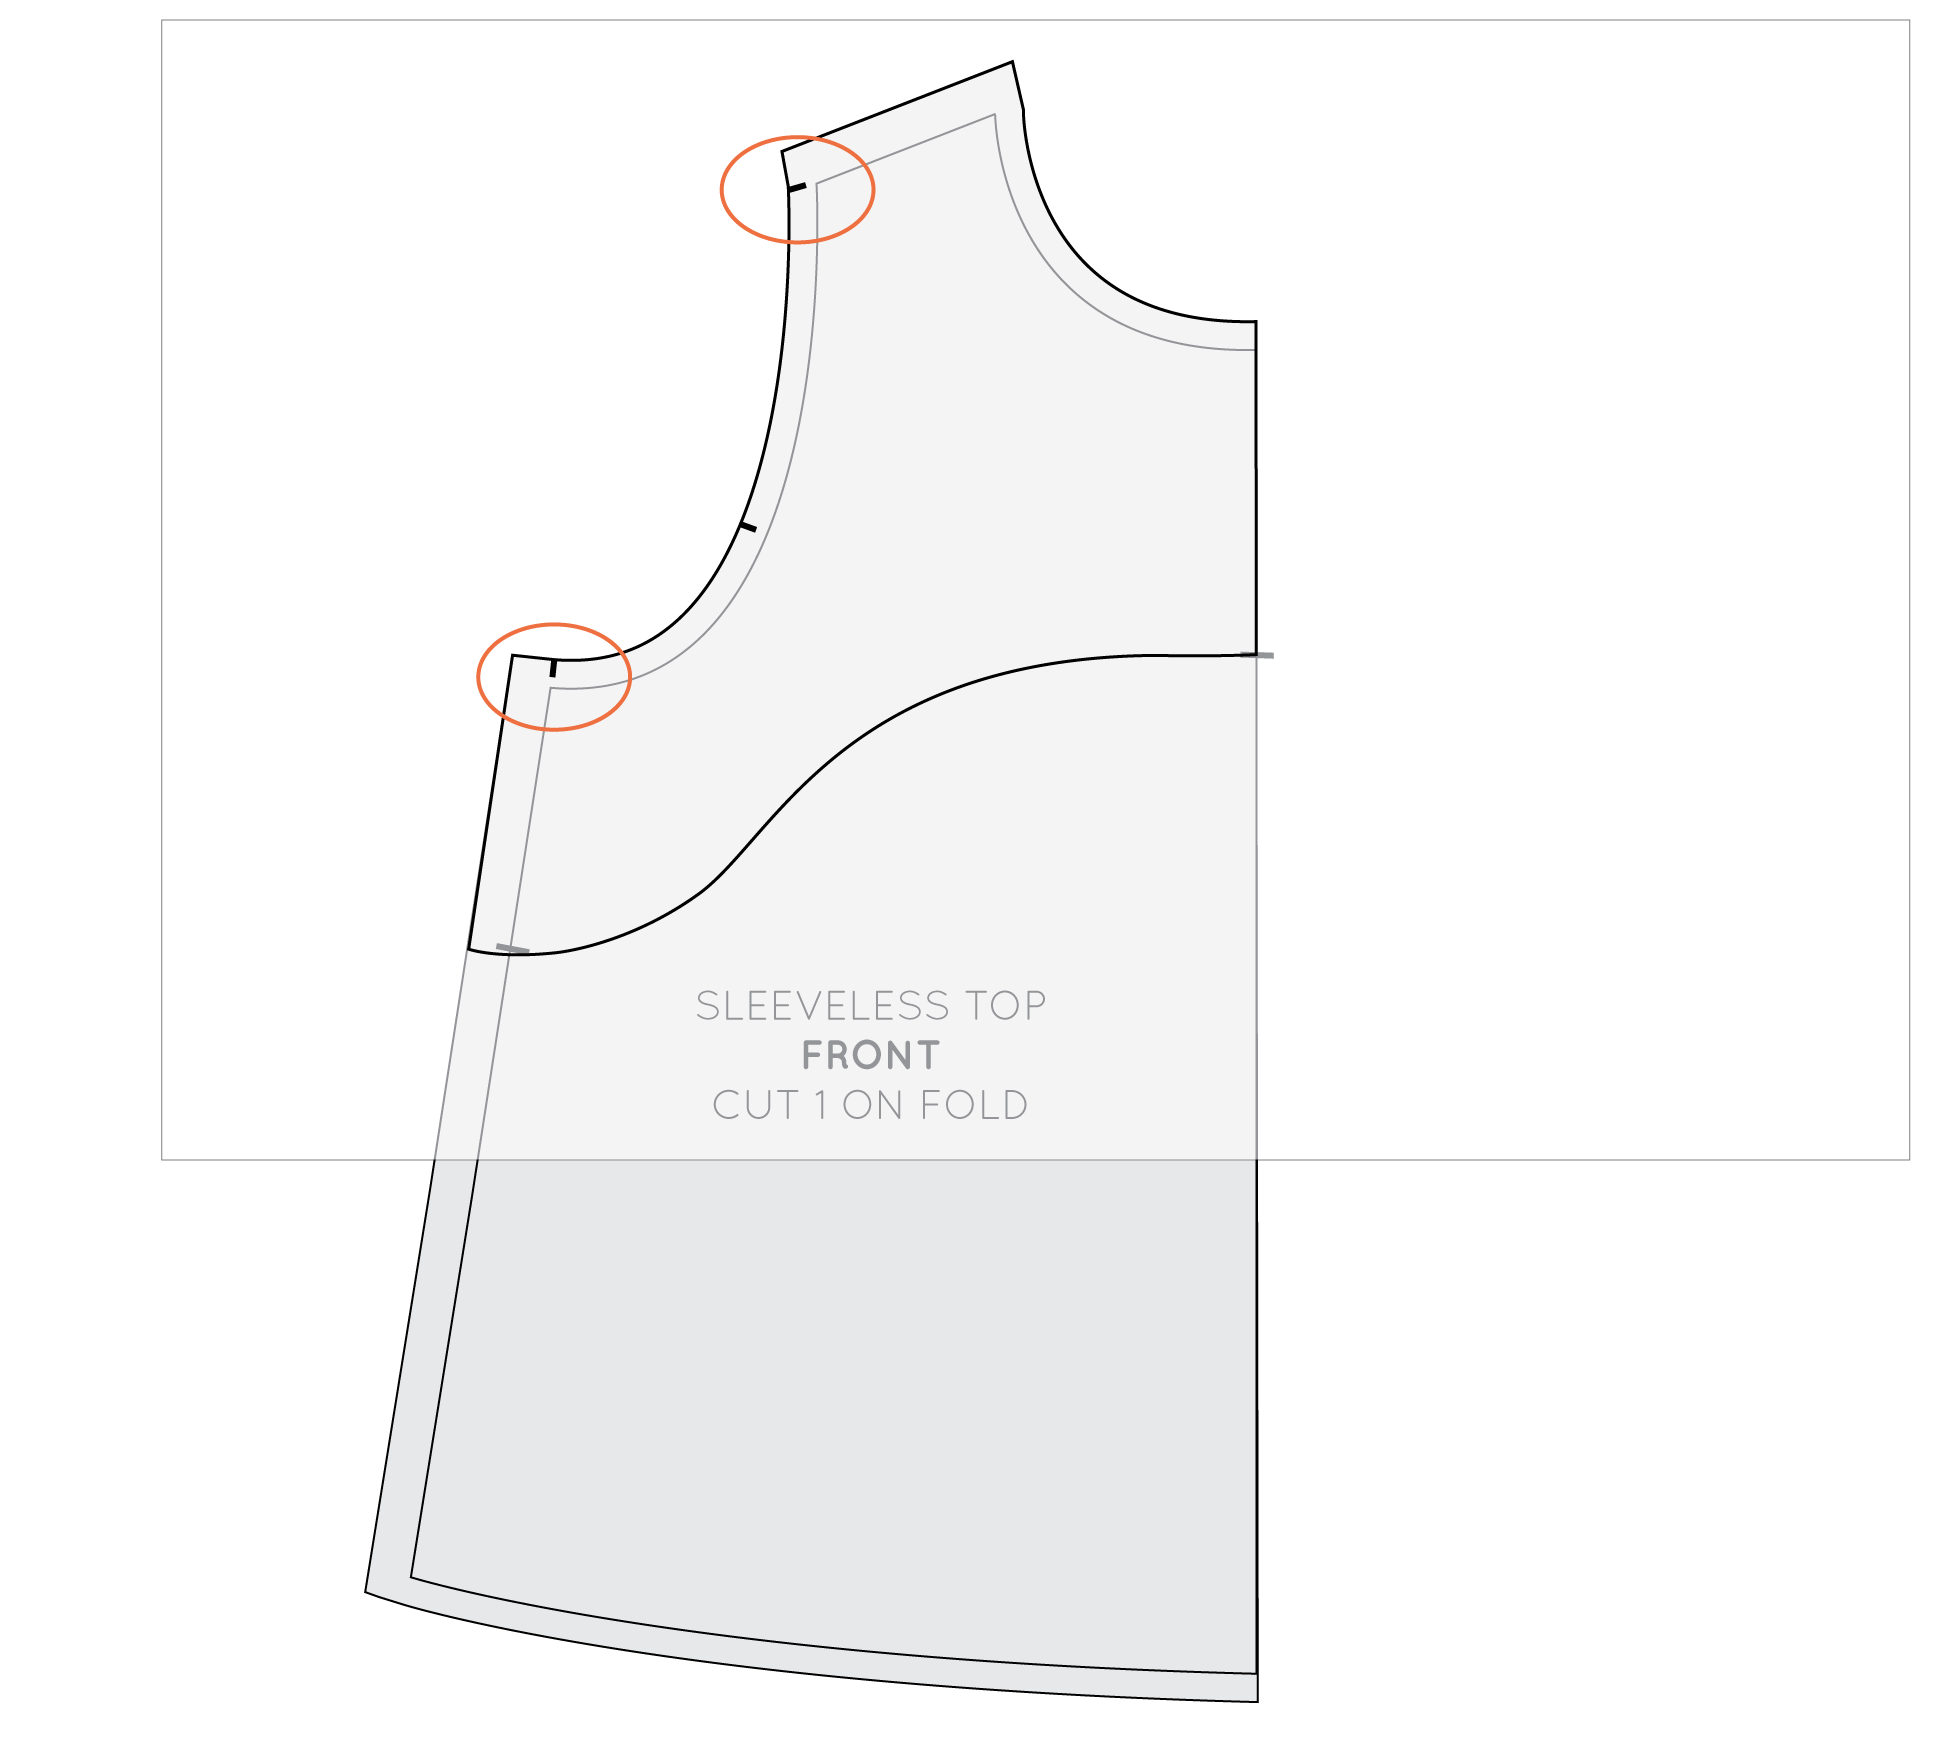
Mark a notch on the shoulder seam and side seam too.
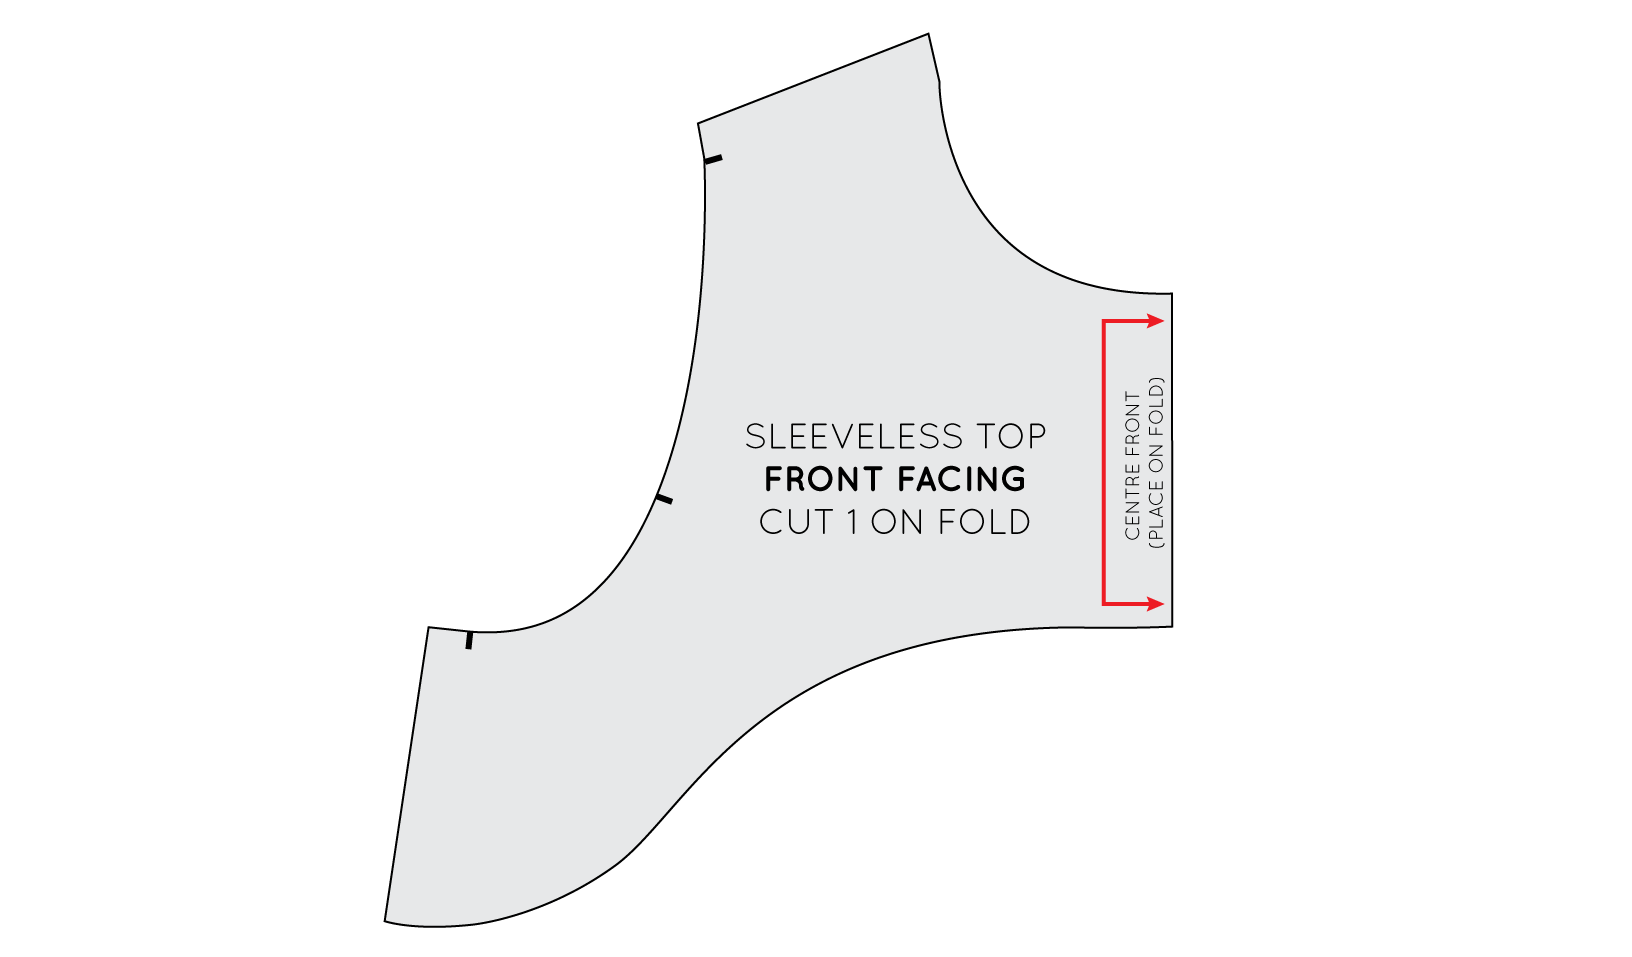
To complete the pattern piece, add the grainline and cutting instructions (cut 1 on fold). Repeat process to create the back facing, and you're done!
When attaching the facing, make sure you understitch it to get a really nice clean and professional finish.