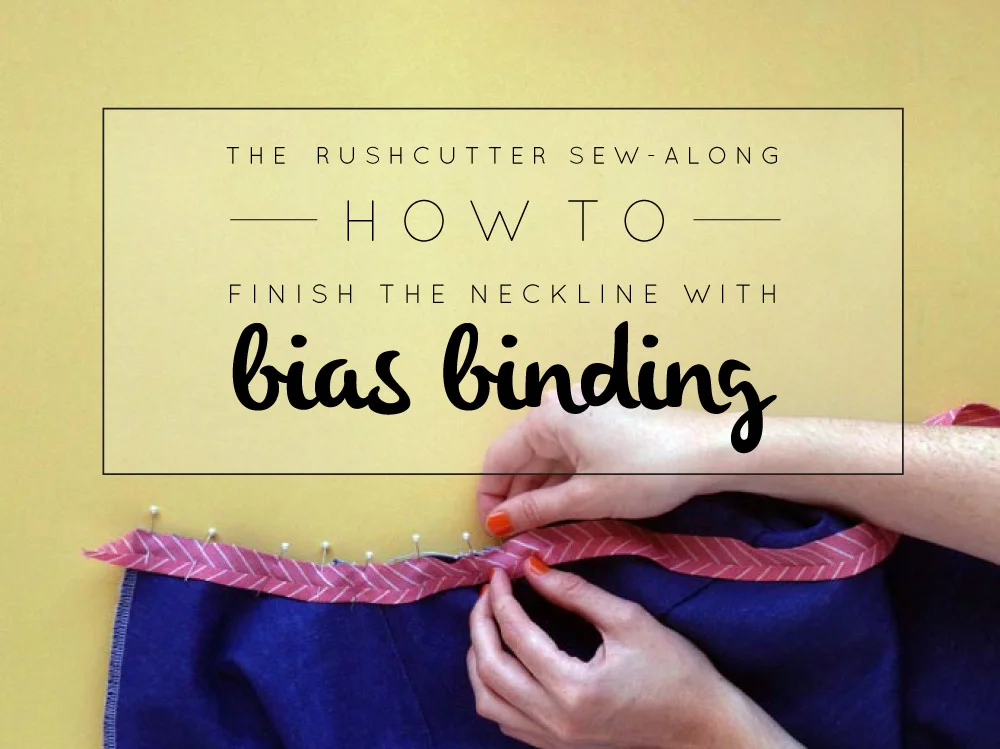
Binding necklines and armholes can create a lovely clean and professional finish. It minimises bulk and can be a perfect finish for lightweight or transparent fabrics that you would be able to see a facing through.
Earlier in The Rushcutter sew-along, I showed you how to make your own bias binding, so head back there if you think you would prefer to make your own binding instead of buying the pre-made stuff.
Measure the neckline
To start, measure the length of the neckline of your dress. Take note of the measurement.
Cut a piece of binding the length of your neckline plus 2cm (3/4in) - this extra 2cm will account for the raw edge at each end that need to be turned under, to achieve a clean finish.
Press the bias tape
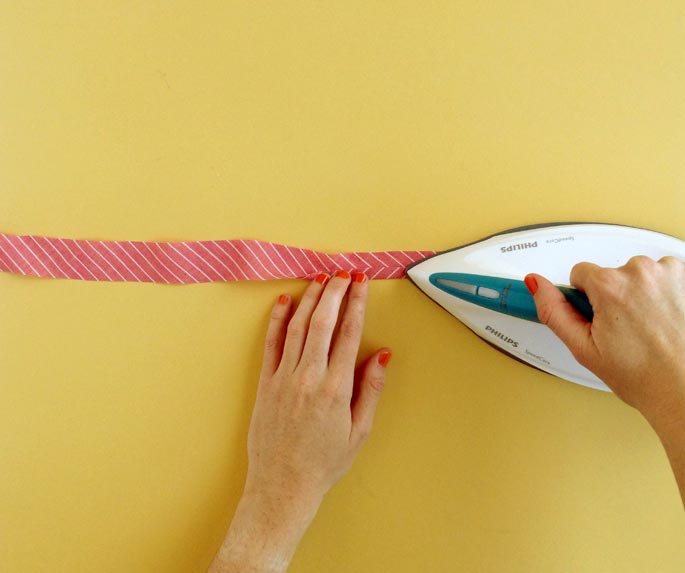
Lay the binding face-down and press one of the long edges under by 10mm (3/8in). If you are using a different width of binding, fold up by a third of the total width.

Fold back both short edges by 1cm (3/8in) and press.
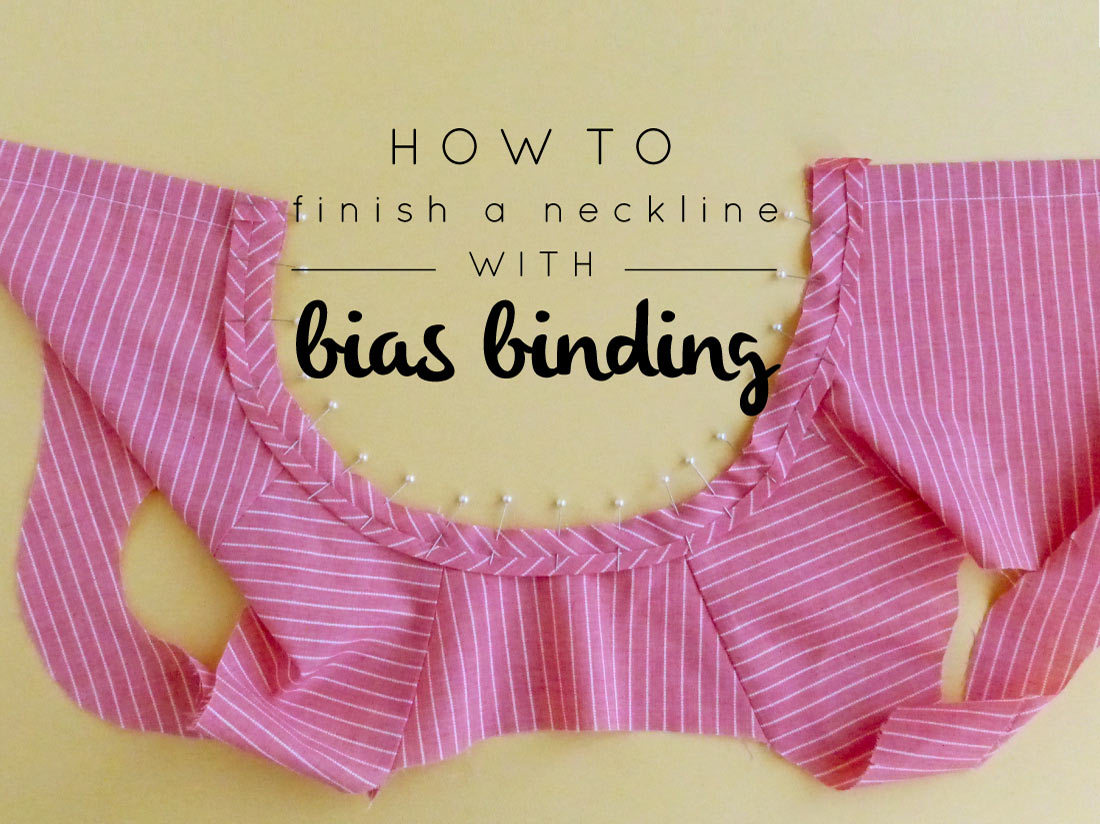
Pin

With right sides together, align the fold on the short edge of the binding with the centre back of the UPPER BODICE. Pin the unpressed edge of the binding to the neckline.
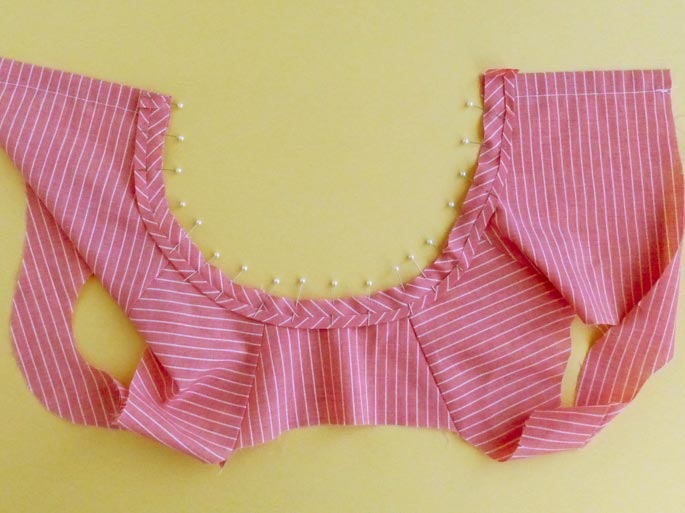
Continue pinning the binding around the neckline (being careful not to stretch it) until you reach the centre back on the opposite side. Check that the fold on the short edge matches up with the centre back seam. If it doesn't, you will need to adjust it, until it sits correctly.
Stitch

Stitch the binding to the neckline with a 1cm (3/8in) seam allowance. Clip into the seam allowance at regular intervals. This will help you create a smooth neckline when you fold the binding to the inside of the dress. If you are using a thick or bulky fabric, you can trip down the seam allowance by 2-3mm (1/16in).
Understitch

Using your finger, press the binding (as well as the seam allowance) nice and flat, with the seam allowance pushed towards the binding. Understitch the seam allowance to the binding. This will help the binding roll to the inside of the garment.
Press and pin
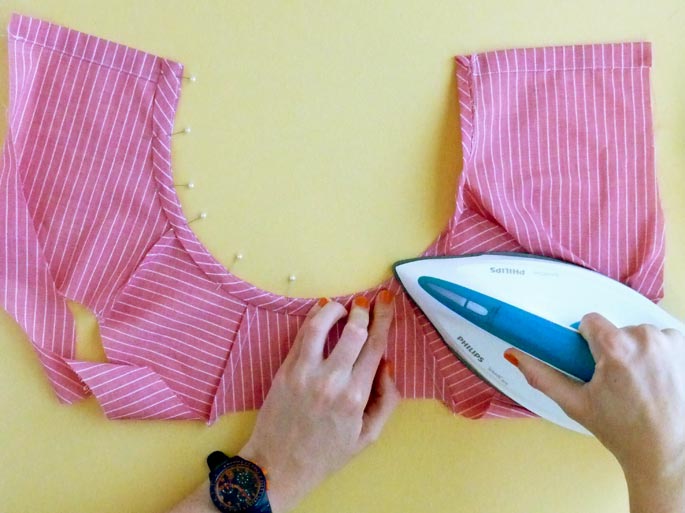
Fold the neck binding to the inside of the dress, rolling the seam line towards the inside of the dress slightly. This will give you a nice clean finish, and will prevent the stitch line from being seen on the right side of the dress. With the raw edge of the binding still folded under, press the binding flat around the neckline, and pin in place.
Edge stitch
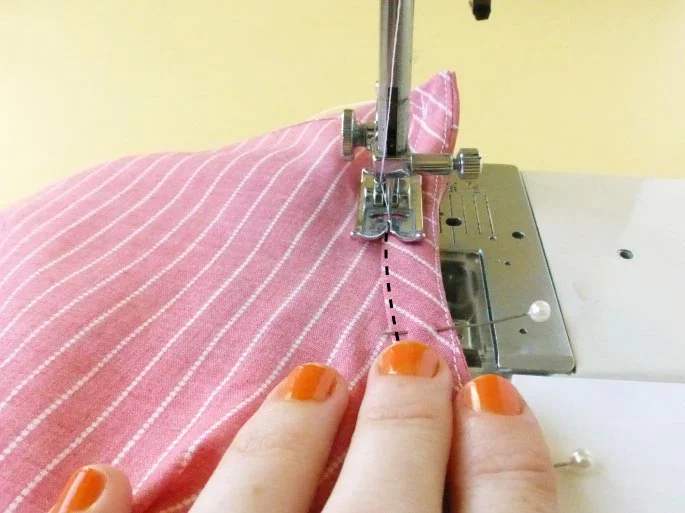
Stitch along the folded edge of the binding and then press to remove any wrinkles.
Baste the placket in place
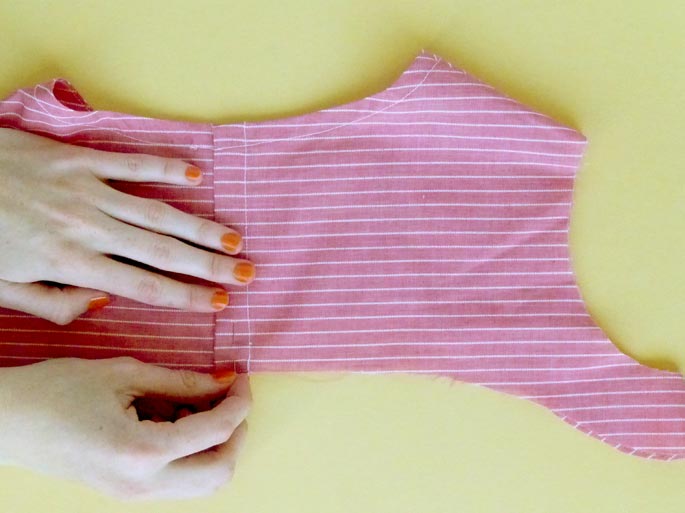
The final step, before we are ready to move onto the body of the dress, is to join the UPPER BODICE at the centre back. With right sides out, lay your bodice face down. Place the button stand on the right-hand side on top of the left-hand button stand, lining up the folded edge with the stitch line underneath.
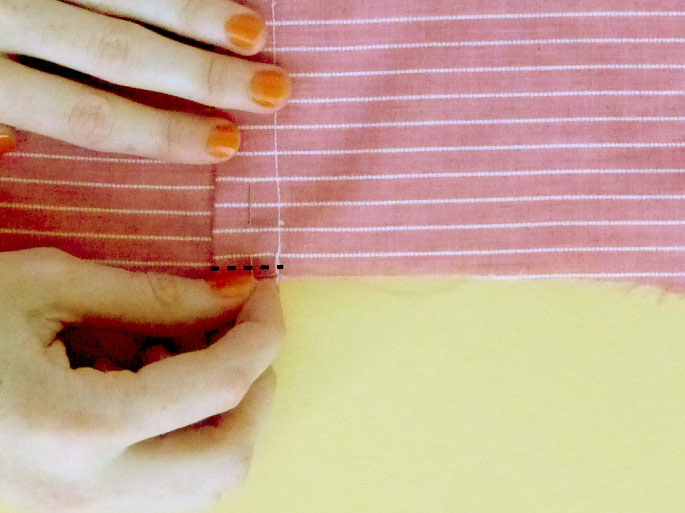
Make sure that the edge of the button stand just covers the line of stitching unerneath . Use a pin to hold the button stands in position and make a short horizontal row of stitches 6mm (1/4in) from the bottom to hold in place.
That's all for today, tomorrow I'll be showing you how to sew the inset pockets with a french seam!